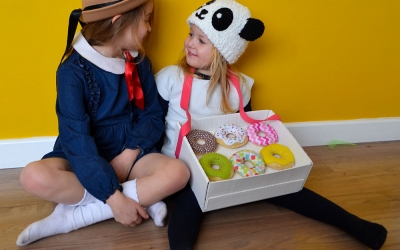

So I have to say I was thrilled when CeCe wanted to be the panda from Please Mr Panda (if you haven't seen my world book day post you can read it here), as I knew I'd get to make these super cute donuts! I have to say of all the girls toys, I love their play food the best.
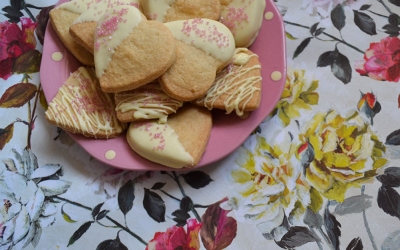
I just love it, and who wouldn't?! the yummiest cakes, mouthwatering colours and squidgy textures but none of the sugar high! I love Ikea's felt play food and have made felt fairy cakes and slices in the past and so a donut was just the next progression - I'm thinking we might need to make some fabric pastries next!
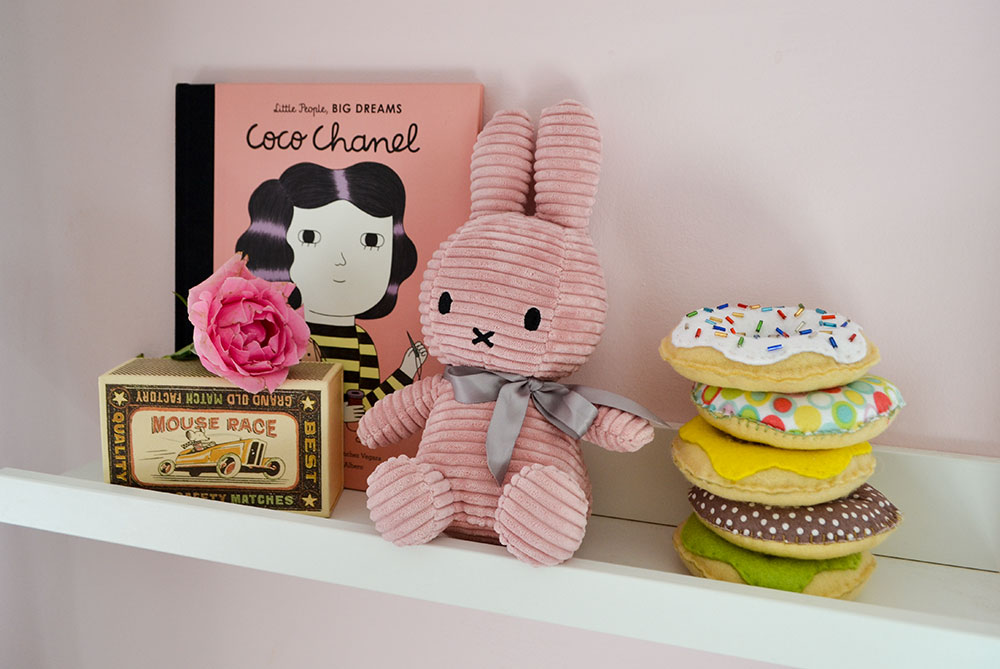
As well as being great for role play they also look wonderful as ornaments on a shelf like CeCe's here - especially if you have younger children as the beading could be a hazard for very little ones so these might be a great way to decorate the nursery for a while and then to be played with when they're a bit older.
These are a really therapeutic thing to make and oh so satisfying. I always forget how lovely it is to hand sew and always vow to do more once I've finished something. a simple donut can easily be made in an evening in front of the TV and my little CeCe's eyes lit up when she saw them in the morning. It's a miracle that we got the whole tray back from school in one piece after world book day, as the short 15minute walk involved offering everyone we met donuts and discussing our favourites etc!
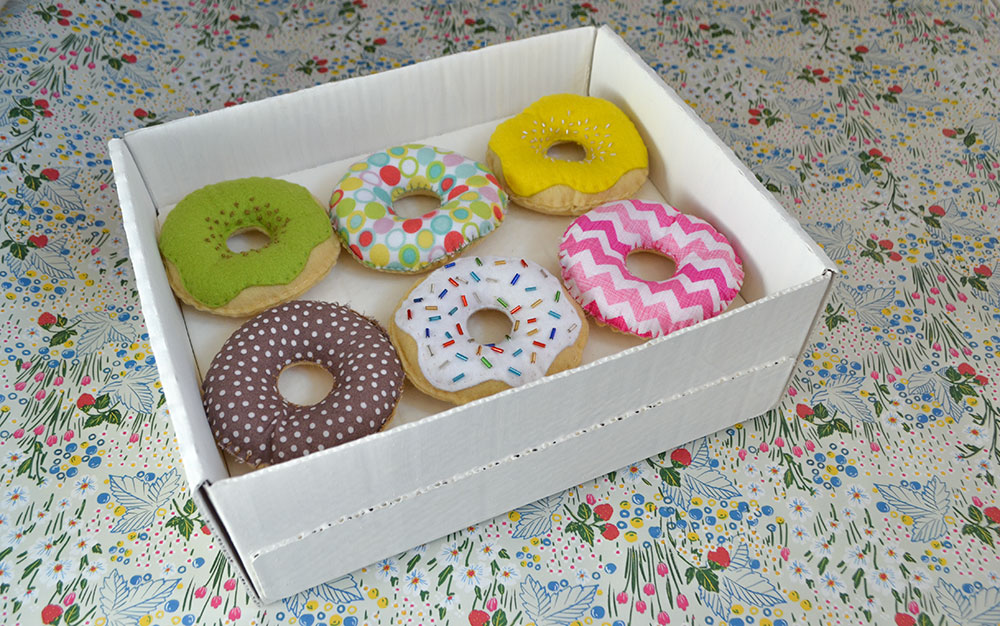
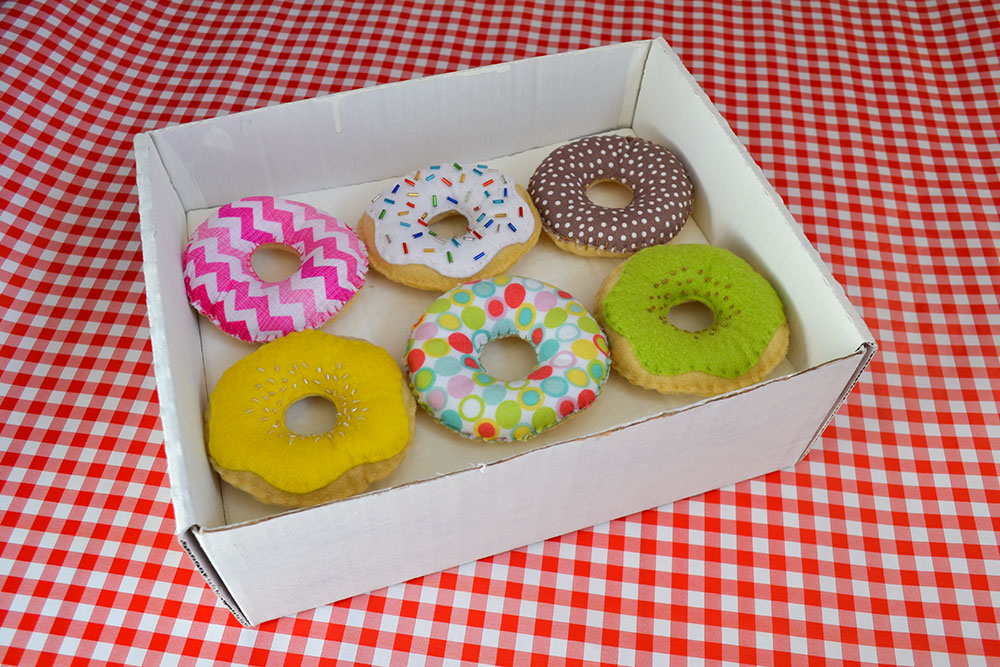
They also use very few materials which you may already have. I love using felt because you don't need to worry about turning under or fraying, but there are so many printed fabrics that lend themselves to donuts - I used a spotty fleecy fabric which I felt like looked like smarties, a pink and white chevron which looked like lovely raspberry ripple icing and a brown polka dot which looked like the perfect chocolate sprinkles.

You will need:
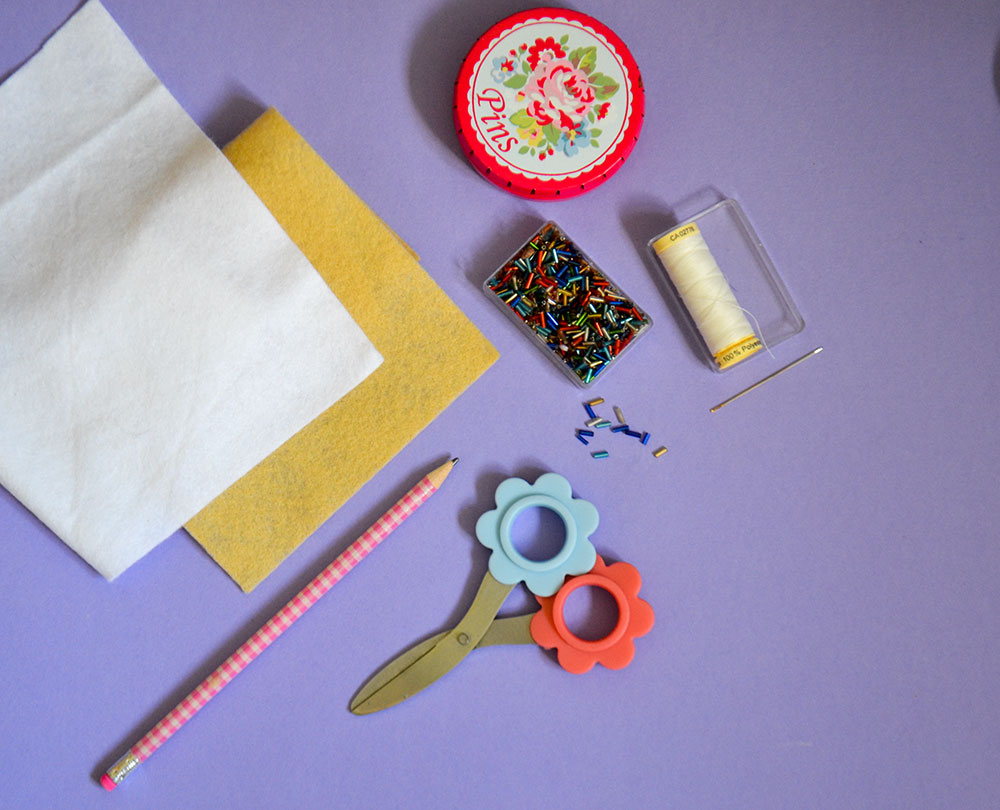
Equipment - scissors, a needle, pins, a pencil.
Materials - felt/fabric, thread, stuffing, bugle beads and embroidery threads - a CD to draw around.
Ok so I don't have step by step pictures for each stage but it kept stopping me from posting so thought that I'd go ahead without them - but if you need any more help please let me know! These instructions are based on doing one white 'iced' donut. I used felt but anything fleecy or just something that won't fray will be perfect.
1. Use a CD for your template - draw around the CD onto your felt and cut out, do this twice for the front and back of the donut.
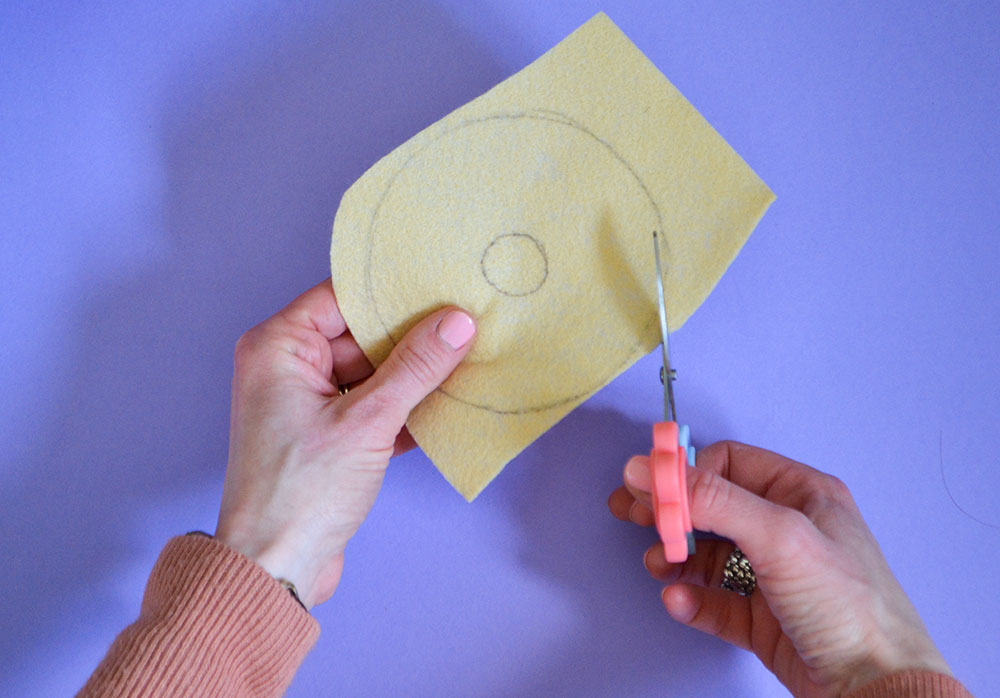
2. To make the icing draw around the CD again onto white felt, now draw a loose wavy line where you think the icing would go to. There's no exact way as as with food the more handmade the better! Cut this out.
3. Take some bugle beads and sew them onto the icing - these are the ones I had to hand but haberdasheries will have so many colour variations so feel free to get sprinkle crazy! The only thing to remember is to make sure you have a small enough needle to thread these oh so tiny beads on.
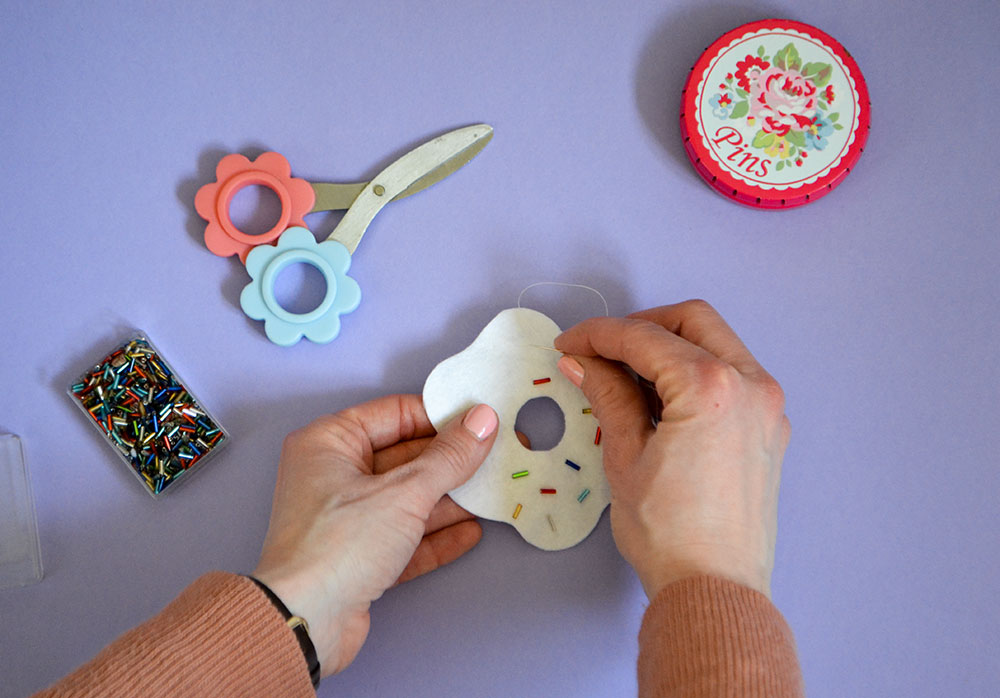
4. Now all the beads are attached pin the icing onto the donut base and sew around the inner and outer edge using a running stitch.
5. Remove the pins and then pin the top piece (the piece with icing ontop) onto the other beige donut ring.
6. Running stitch around the whole of the inner hole and then around the outer edge leaving about an inch gap to stuff.
7. Fill with stuffing - I always think you need much more than you'd think! and then sew up the gap.
And that's it! For patterned donuts I did exactly the same thing but didn't do the icing layer and made one of the two donut shapes a patterned fabric. For the other variations I did different colour icings and embroidered french knots onto them for sprinkles (I have to youtube how to do them everytime I do them, that or ask my Mum!).
Tags – Making, Live Creatively, Kids, Live Colourfully, DIY, Inspiration, Make it yourself, Hobbycraft, Bloggers, Family, Craft, Sweet Treats