


Alie and I adore Autumn - so much so that Alie has planning her own Autumnal Wedding in October next year! Crunchy leaves, golden hues and cosy nights, it's just the perfect season. I love the pure volume of leaves around, I find it all the more lovely being reminded about how amazing it is from my two girls 'look at this orange leaf mummy - I take it home? Look at how many acorns! Wow Mummy look at this one! and the enthusiastic throwing, kicking and bounding into those lush leaf carpets which surround our walks to and from school.
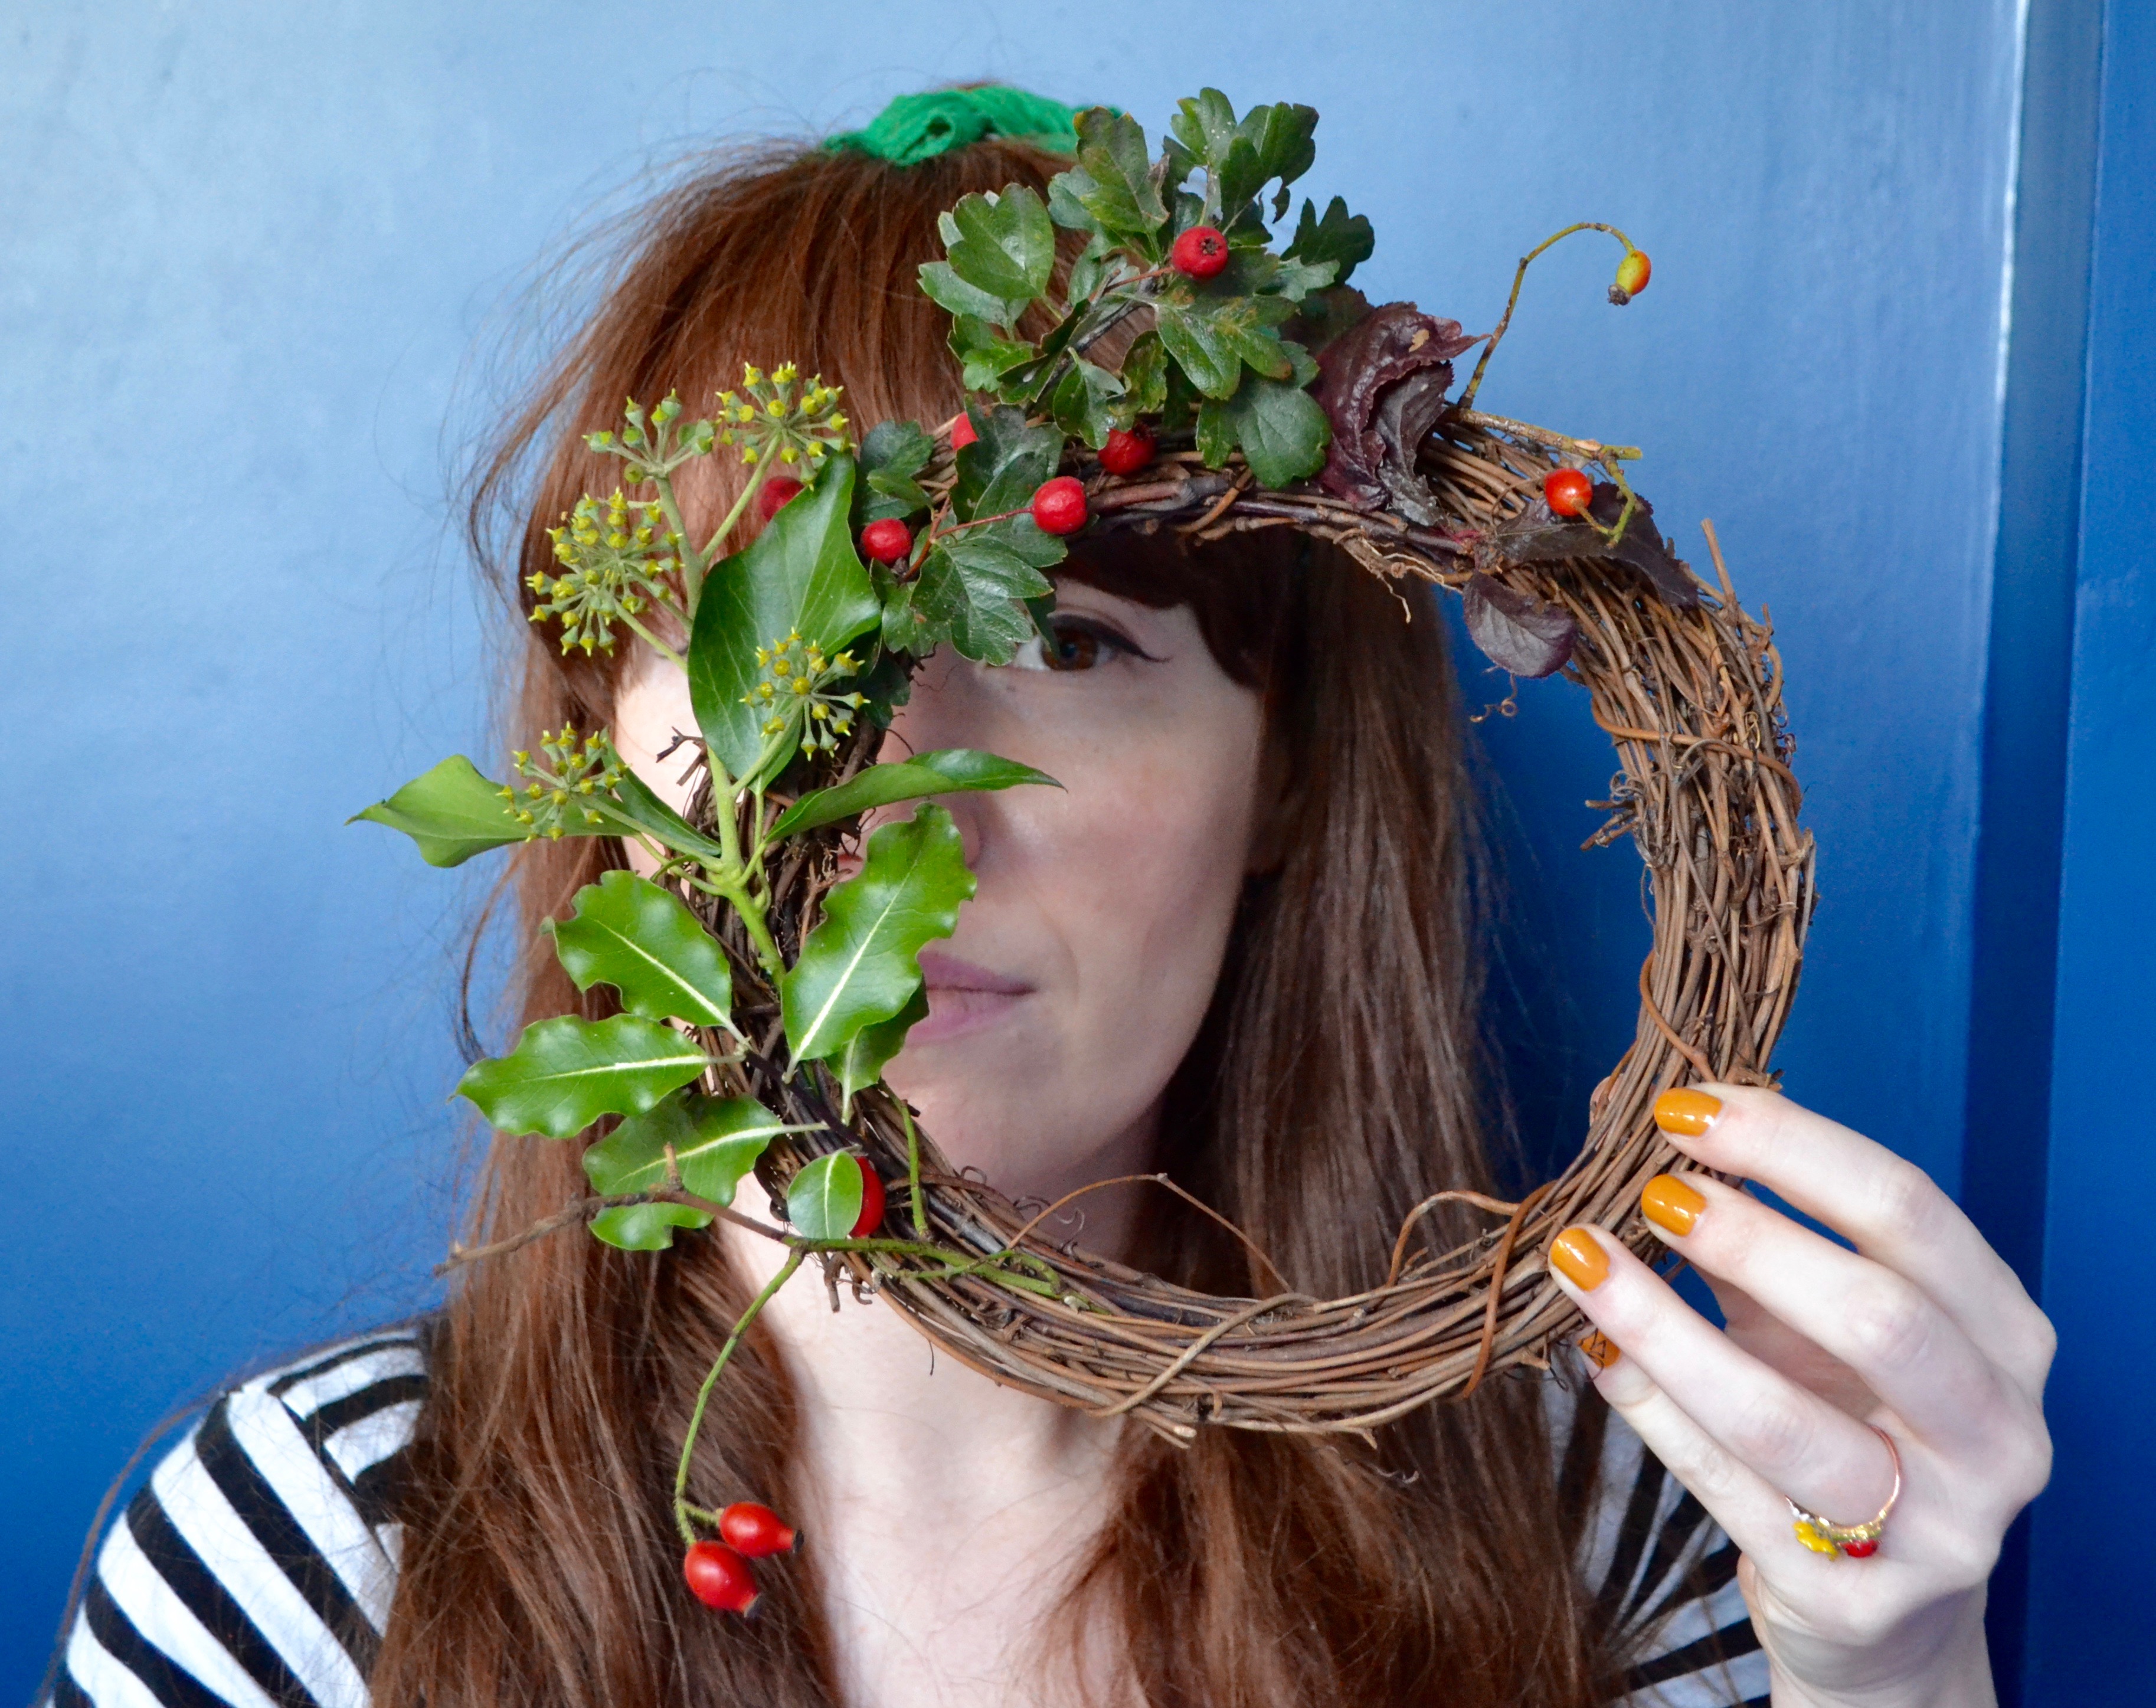
Wreaths are good all year round I think, but these Autumn ones are a particularly great quick and satisfying make, as well as a simple activity to do with Children. The base I got from Hobbycraft here. This particular base is perfectly goes with the wild organic handmade look to the wreath and I actually think looks pretty nice on its own! This time of year is just the best for being able to do beautiful botanical things without having to spend a penny - all you need is to go for a quick forage and you can be back with a bountiful crop of lush foliage ready for crafting.
So this is possibly the simplest wreath you could make, but if you wanted to get fancy and make it a little more sturdy (although it has to be said I do love the fleeting fragility of this craft) you could use florists wire and tape to fix the elements in place. I would say though, I actually like the fact that the foliage will dry and curl up, and I do love to look at the way that the wreath changes, and it forces you to not be too precious. Plus you can add more and more foliage as you go making it a beautiful organic thing itself evolving with the season. I love that I have something hanging that I can quickly and easily add to with 'treasures' that the girls find on their walks.

The joy in this make is that you interpret it however you feel, I'm going to describe how Alie and I did it, however with the girls I just let them go about it in their usual free spirited way grabbing and preening as they please - I actually love the haphazard to feel to their one - see below.

Quick and Easy Autumn Wreath tutorial:
1. Forage for your foliage - I like to have a good mixture of colours and textures, but go with how you feel, a solid choice of one type of natural matter could look really striking. I currently adore reships and just love they way the opaque red berries pop against the leaves.
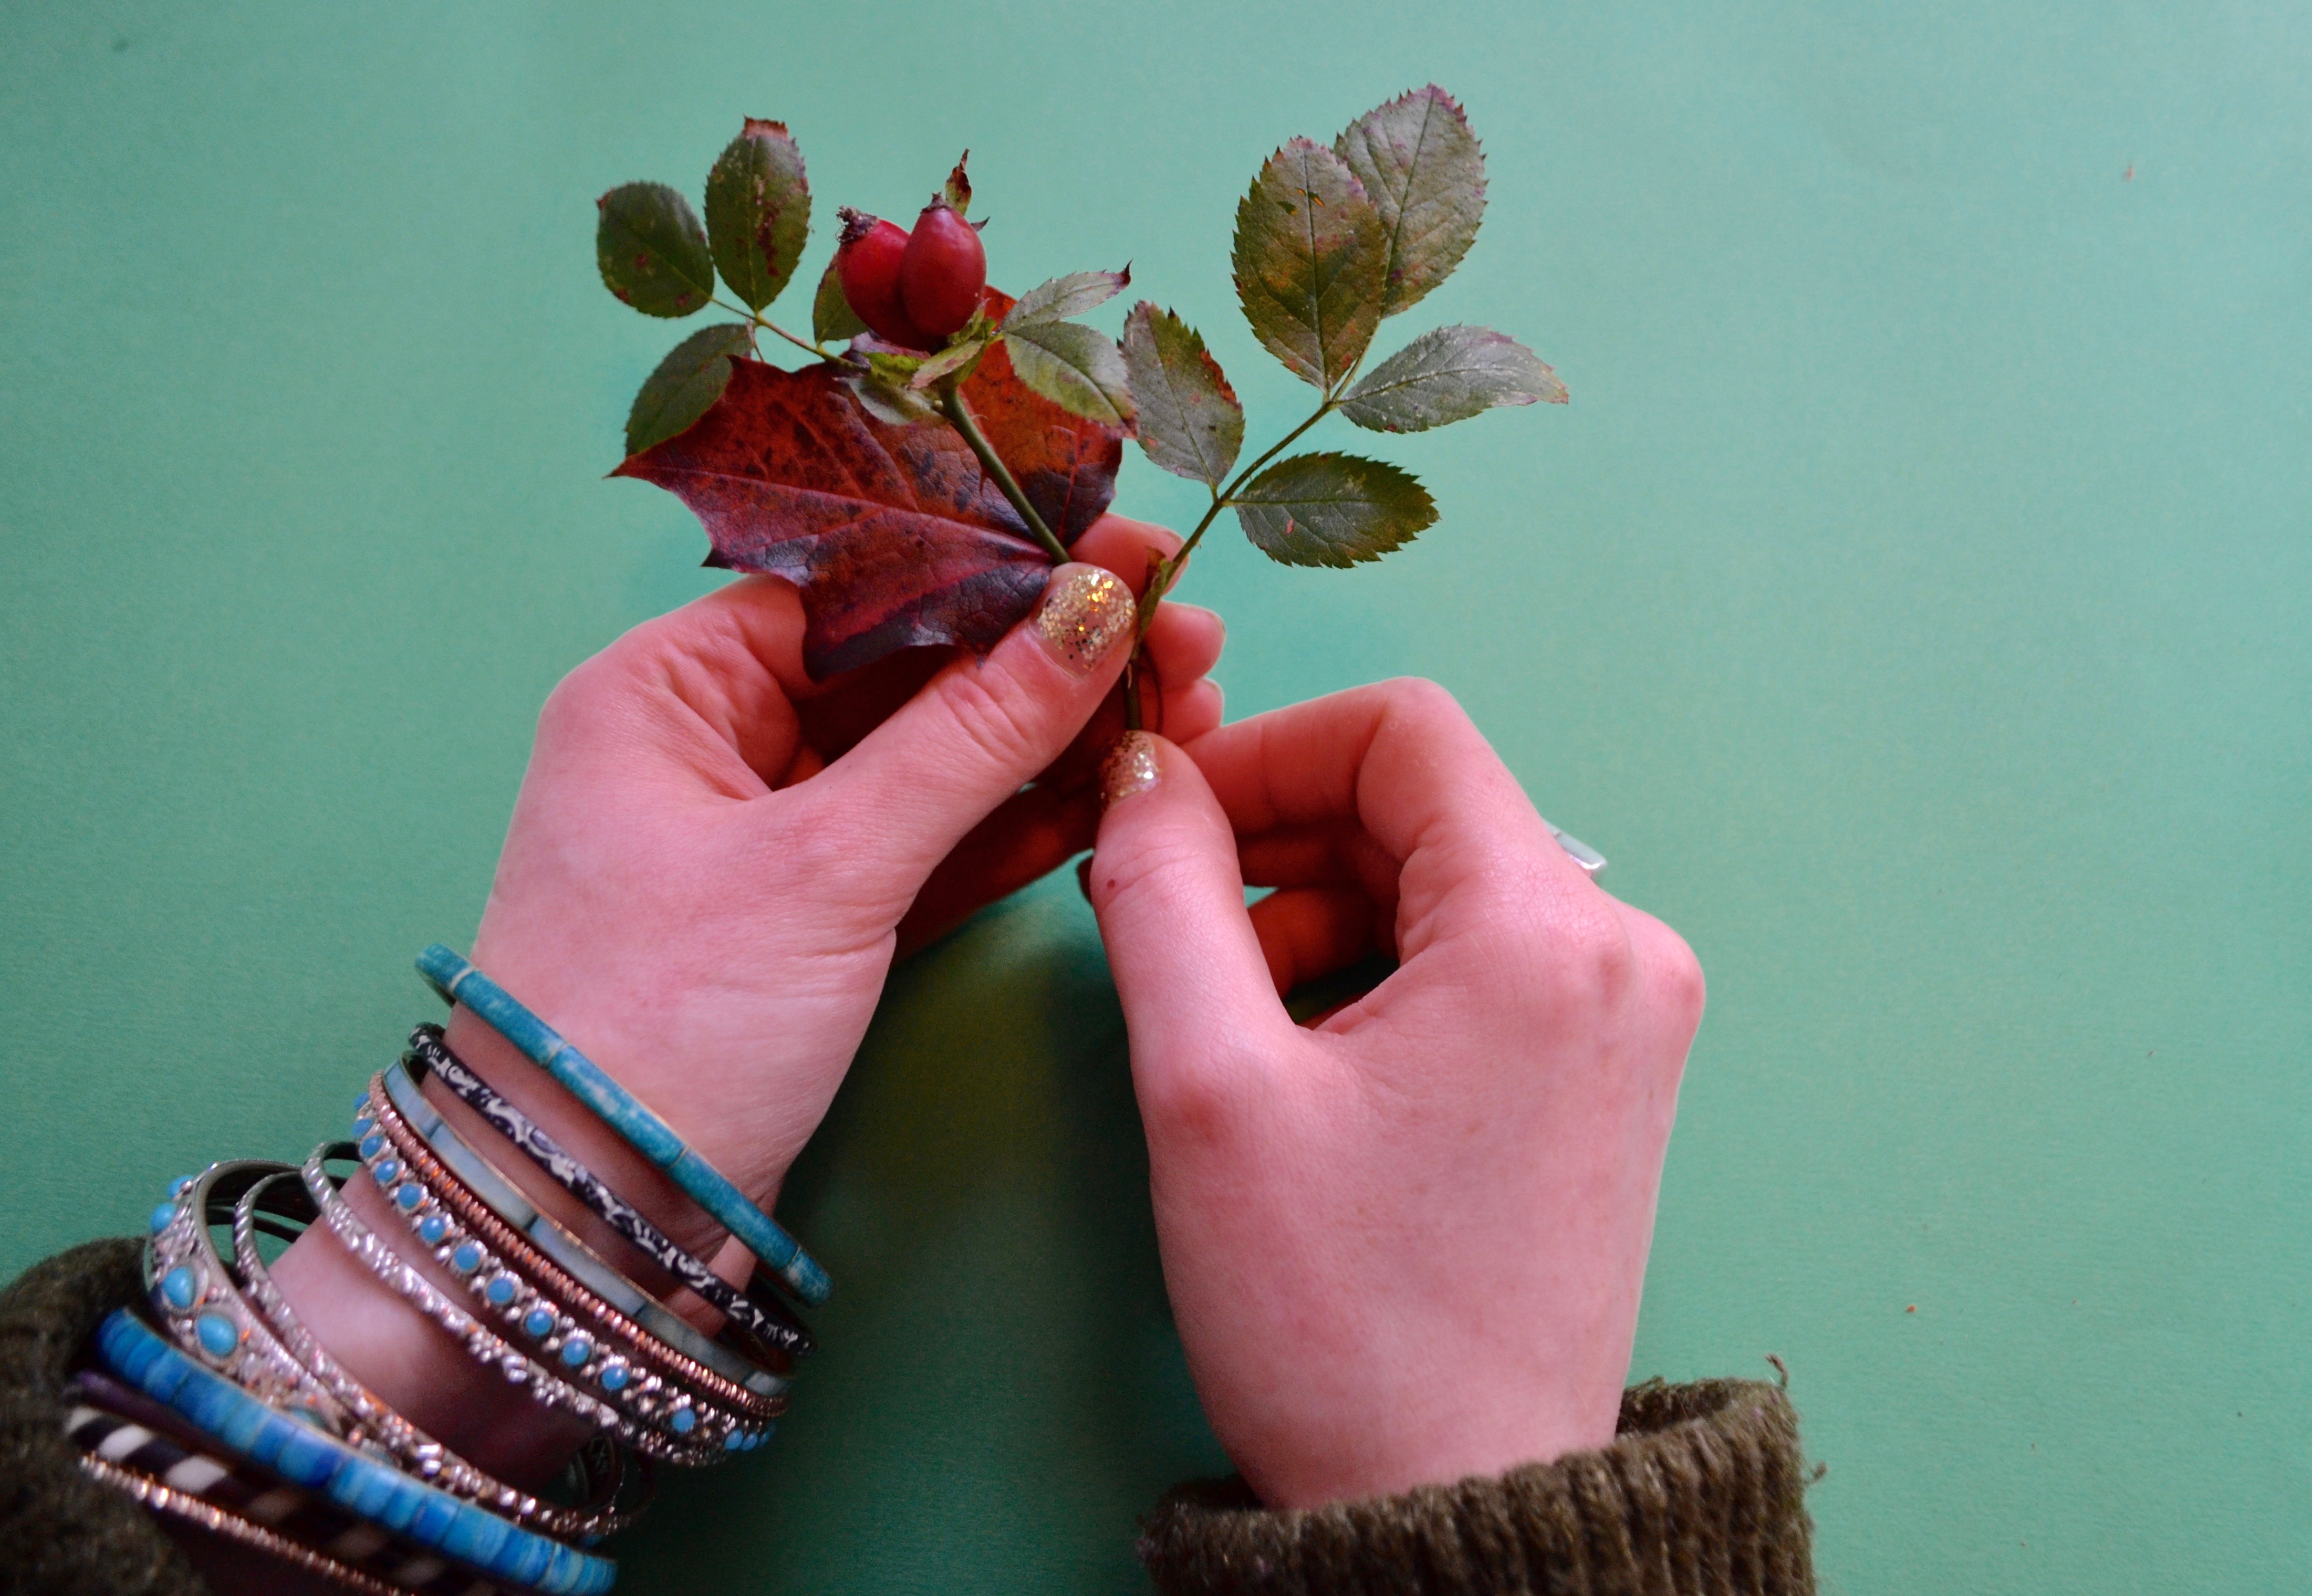
2. Lay out all your materials and then start to group bits together in little posies and tie with twine or string (as I mentioned before you could use wire or tape here). Try not to be too neat, I think the more natural the better!
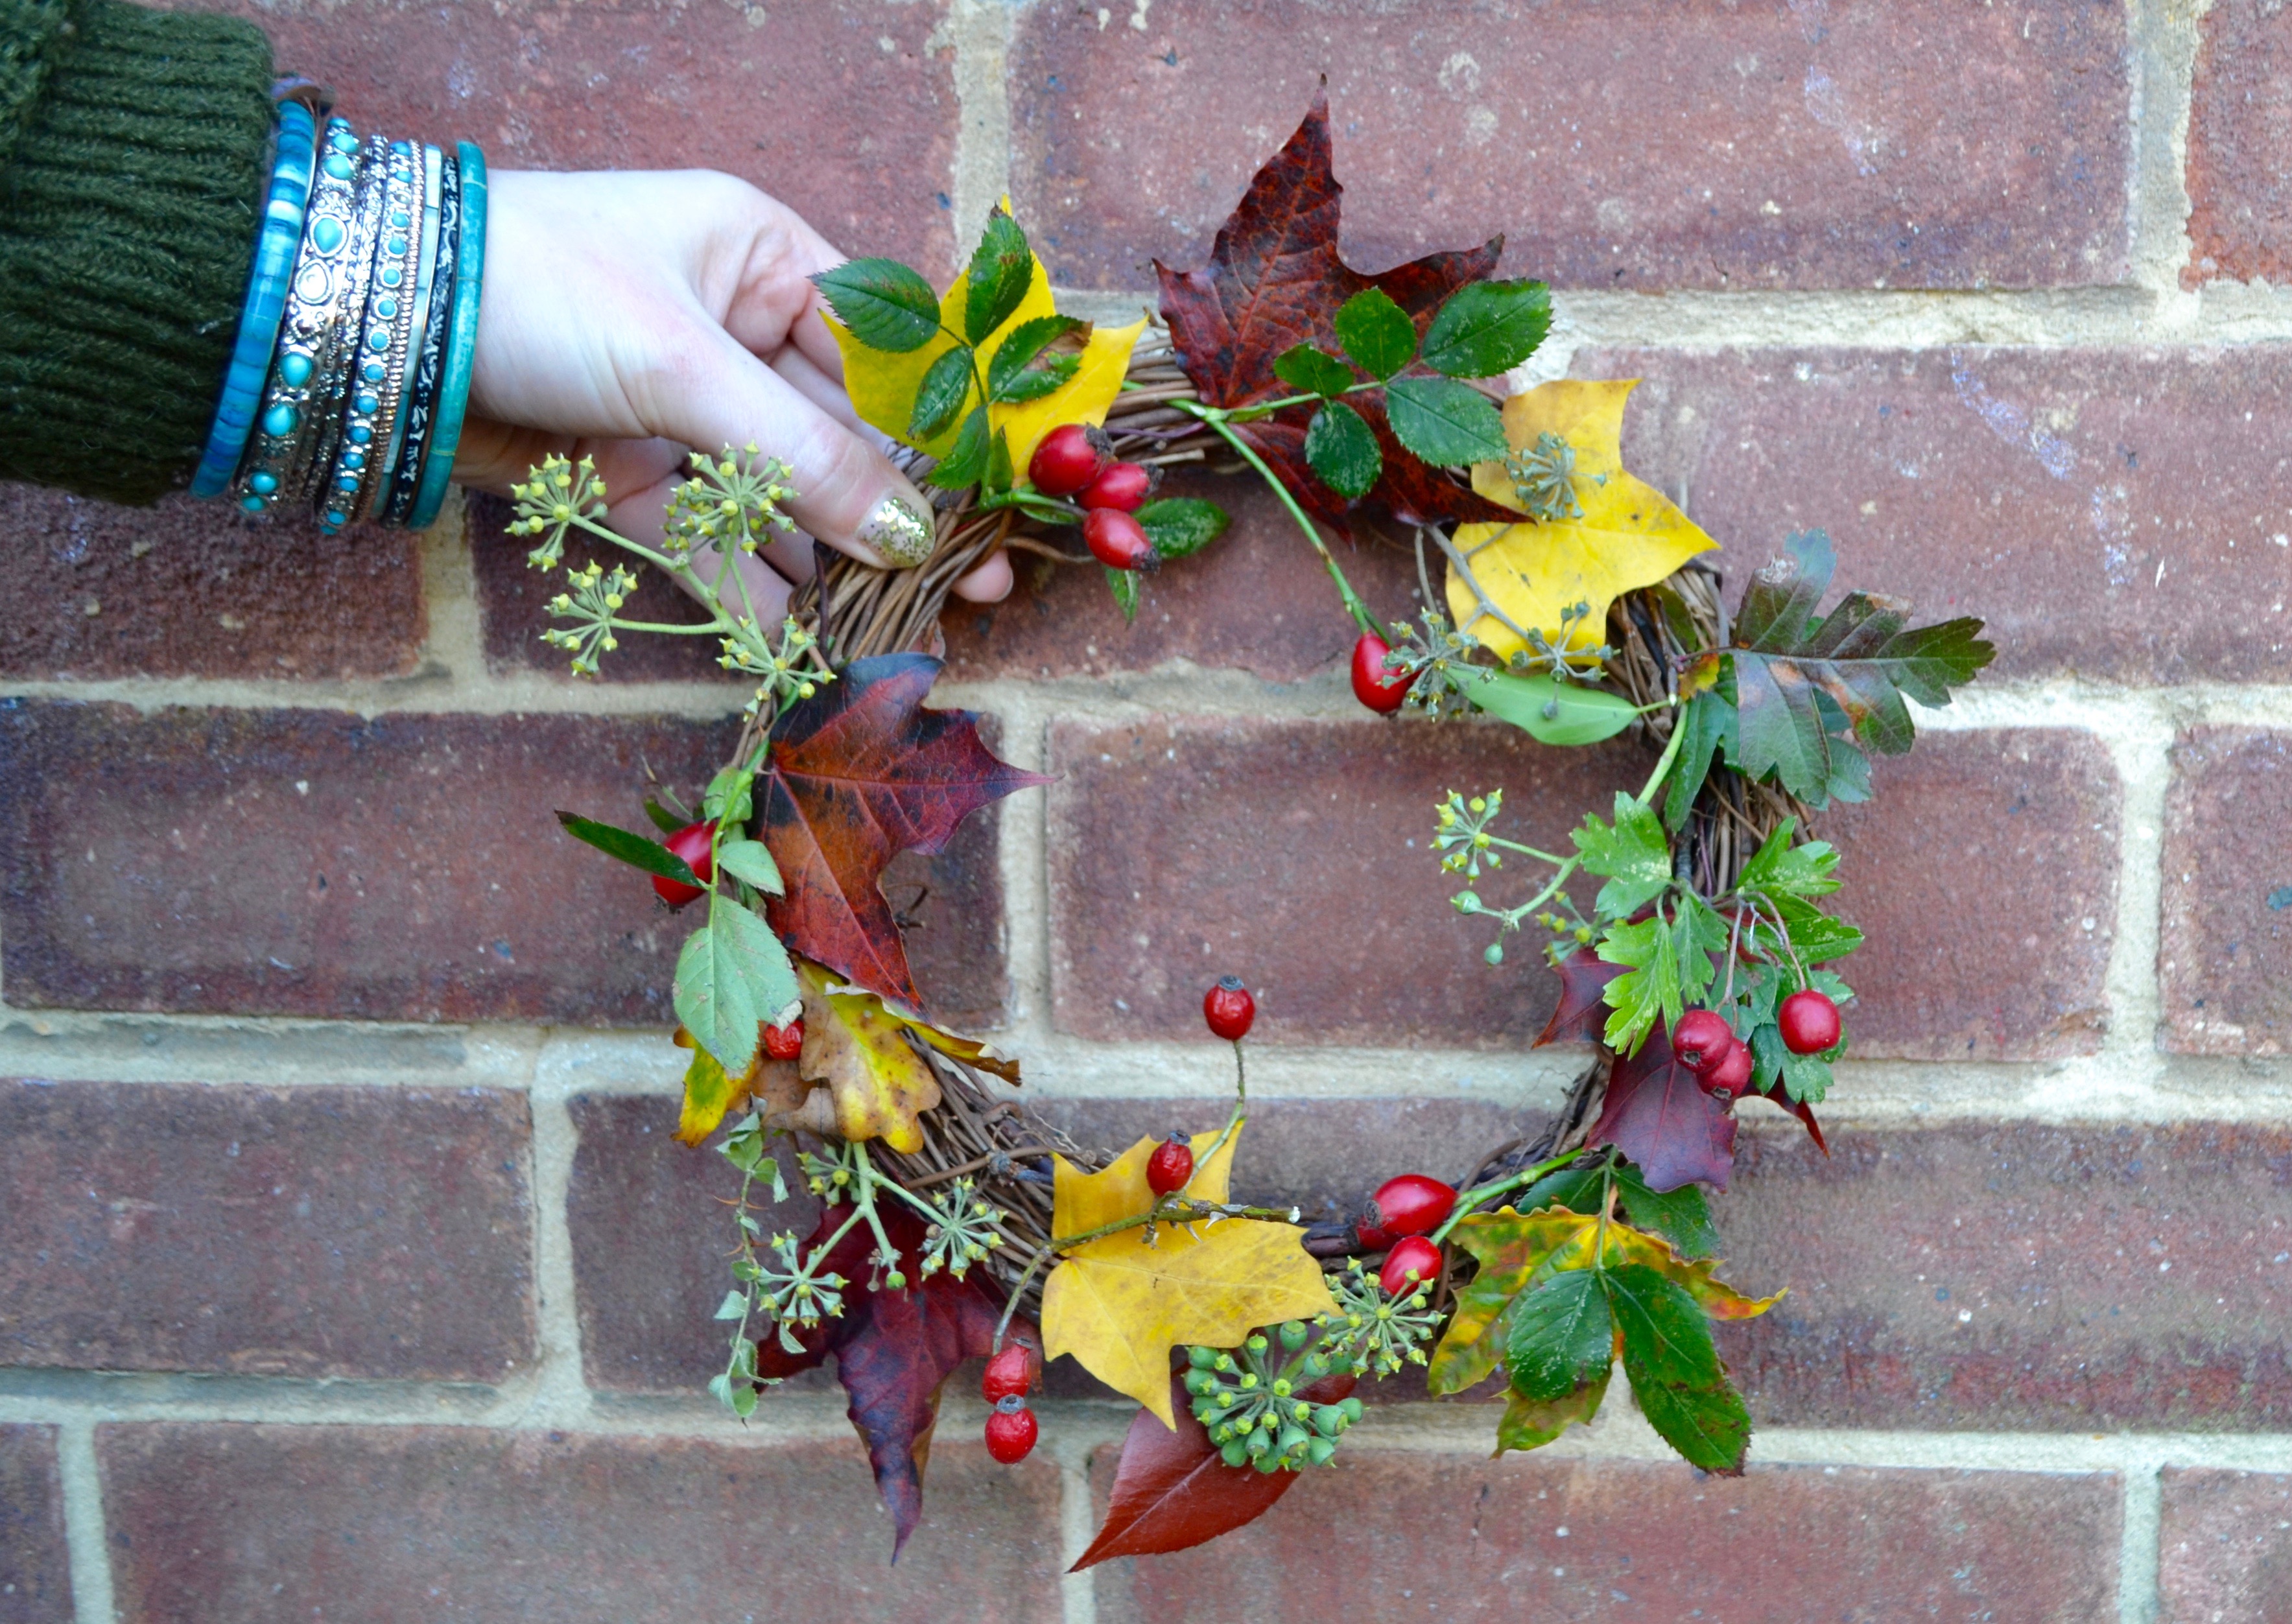
3. Think about how you will place the elements, as well as a fully covering the wreath, clustering just one half or area also looks really stylish. Have a play around until to looks right.
4. Tuck in your little posies directly into the wreath, pushing into the base as much as possible to make the elements secure.
And that's it! The wreaths also make great table centrepieces by simply adding a candle to the centre. Take a little look at our video showing the wreath taking shape.
Please let us know if you make any autumnal wreaths, we'd love to see them. I'm going to start using the hashtag #FITWmakes to post all our making on, so please feel free to tag us or have a browse
Christmas version coming soon!
Posted under – Flowers
Tags – No tags where found for this post